Cara Mengatur Google Analytics
Google Analytics digunakan untuk melihat dan memahami lalu lintas web.
Ini gratis dan mudah digunakan.
Anda dapat menyesuaikannya untuk banyak kasus penggunaan.
Ini bekerja di luar kotak.
Ini cepat untuk diatur. Dapatkan wawasan Anda hari ini!
Buat situs web gratis sayaLewati membaca tentang Google Analytics. Bawa saya langsung ke langkah pertama. Pergi ke langkah pertama
Apa itu Google Analytics?
Google Analytics adalah solusi analisis web.
Ini dikembangkan dan didukung oleh Google.
Versi terbaru disebut Google Analytics 4.
Ini dapat digunakan untuk melihat data seperti audiens, tampilan halaman, sesi dan, demografi, dan acara.
Mengapa mengaktifkan Google Analytics
Pahami lalu lintas web Anda untuk membuat keputusan yang lebih baik.
Memahami dan meningkatkan saluran penjualan.
Belajar dari eksperimen (misalnya, tes a/b).
Google memiliki solusi lain yang disebut Google Optimize. Solusi ini dibuat untuk pengujian.
Untuk siapa Google Analytics?
Google Analytics berguna bagi siapa saja yang memiliki situs web.
Ini memberi Anda informasi tentang siapa yang menggunakan situs Anda dan bagaimana mereka berinteraksi dengannya.
Selain itu, antarmukanya mudah dipahami.
Anda tidak memerlukan latar belakang analitik untuk menggunakan dan menavigasi layanan.
Cara menyiapkan Google Analytics langkah demi langkah
Google Analytics dapat disiapkan dengan dua cara The Global Website Tag (gtag.js) atau Google Tag Manager .
Cara termudah adalah dengan menggunakan The Global Website Tag.
Tutorial ini akan menggunakan pendekatan The Global Website Tag.
persiapan
Putuskan editor kode mana yang akan digunakan dan atur lingkungan Anda.
W3Schools telah membuat editor kode yang mudah digunakan bernama W3Schools Spaces . Daftar dan mulai dalam beberapa klik.
Mulai gratisBuat file index.html Anda sehingga Anda siap untuk memasukkan kode.
Semua pengaturan. Ayo pergi!
Siapkan Google Analytics: Tag Situs Web Global
Langkah 1: Buat akun Google Analytics
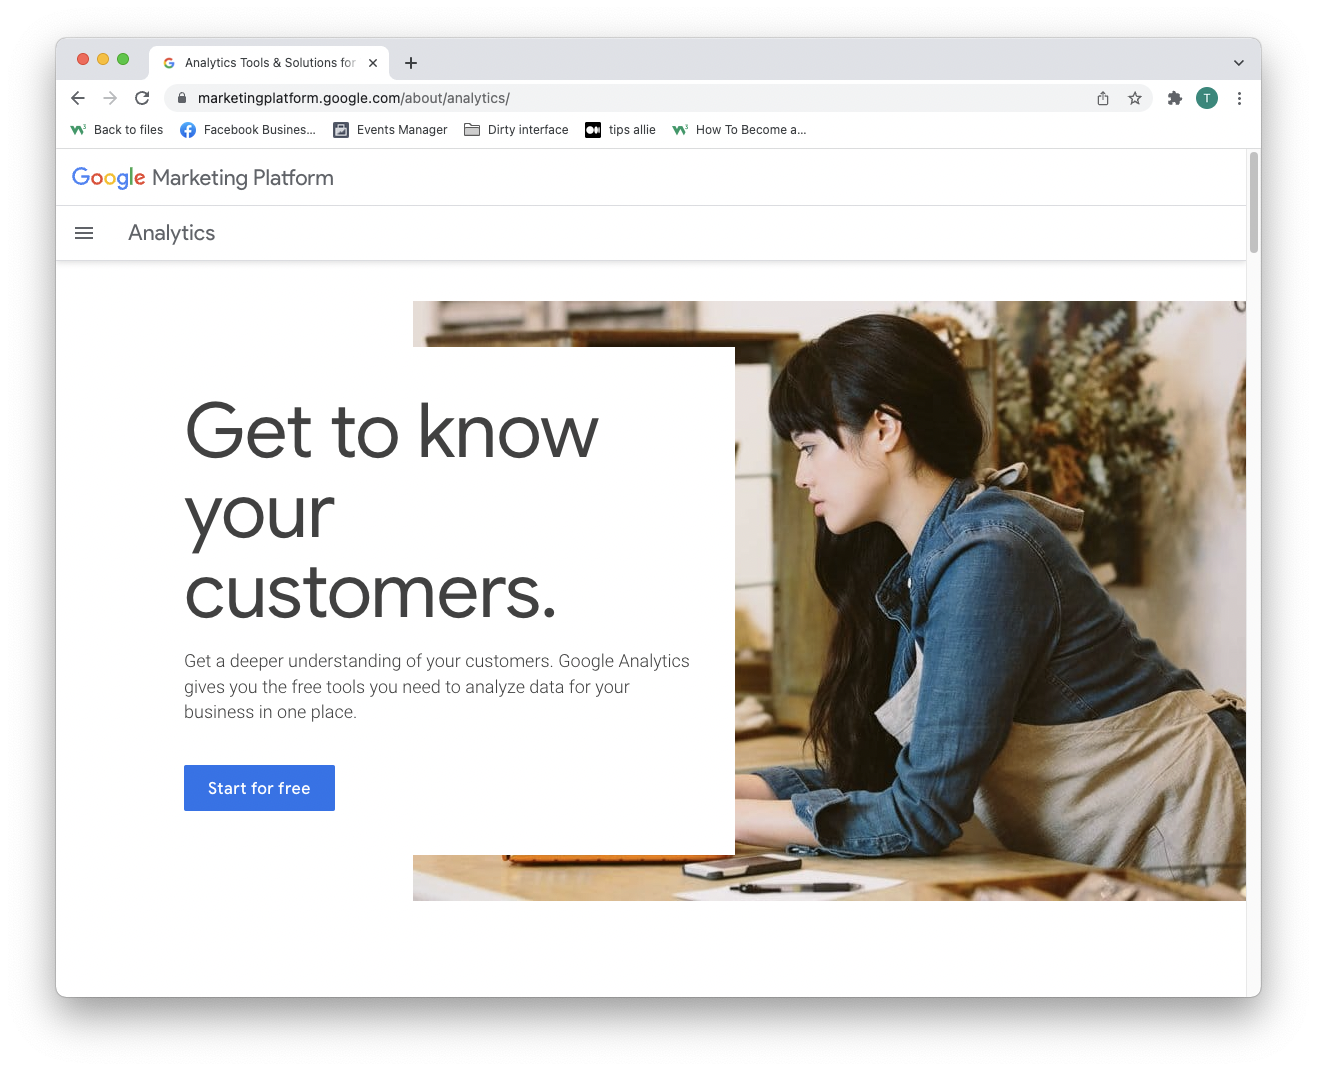
Buka Analytics: Buat akun atau masuk ke Analytics
Tautan dalam paragraf di atas membawa Anda ke halaman arahan Google Analytics.
Klik tombol "Mulai gratis".
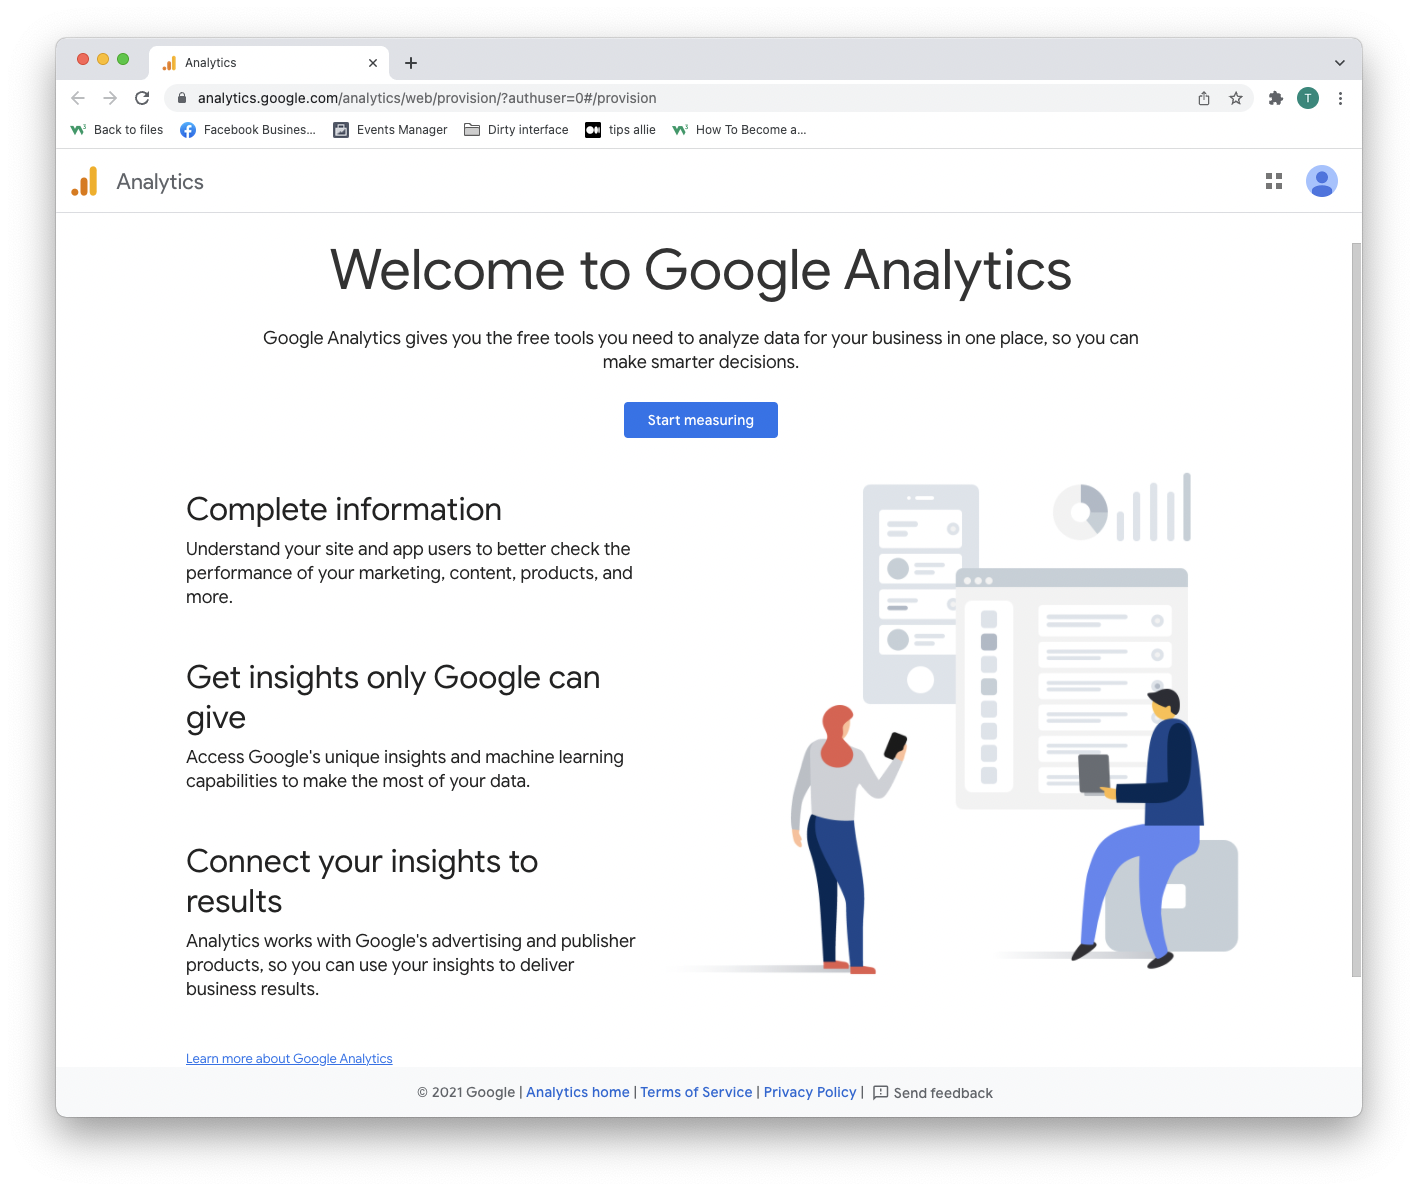
Langkah 2: Masuk ke halaman selamat datang
Setelah membuat akun atau masuk, Anda akan disambut dengan solusinya.
Tekan tombol "Mulai mengukur" untuk melanjutkan.
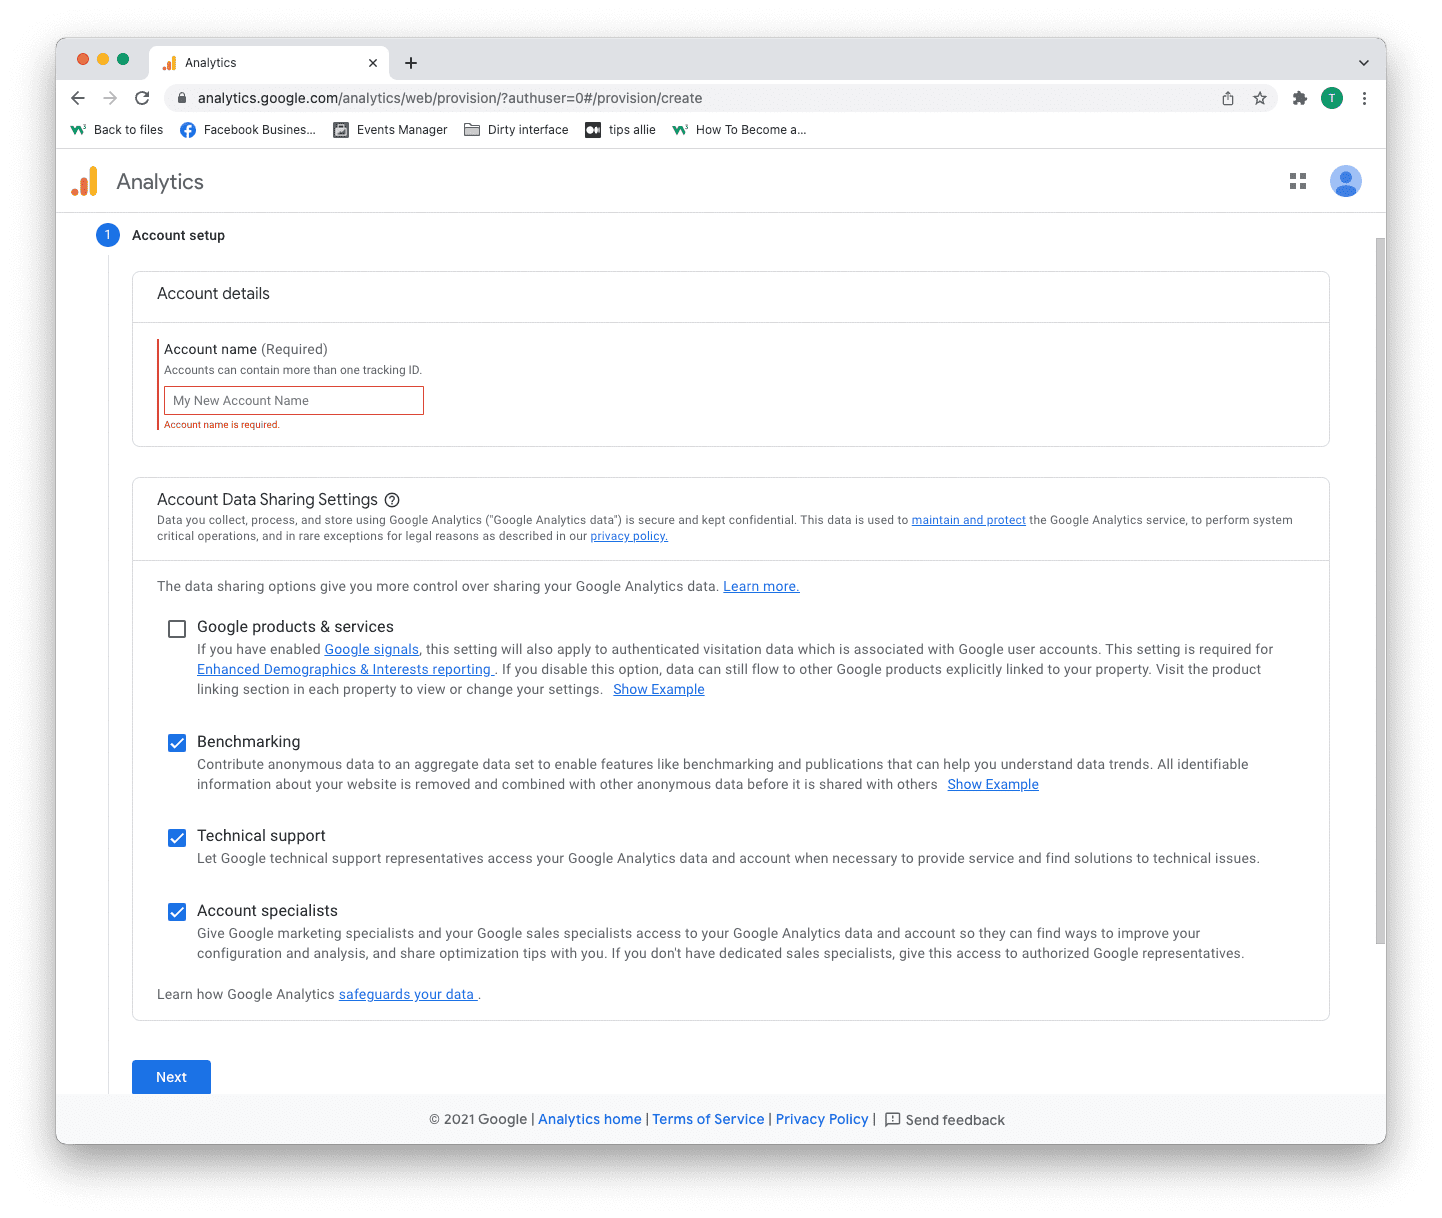
Langkah 3: Penyiapan akun
Anda memiliki dua keputusan untuk dibuat di sini.
- Masukkan nama akun Anda.
- Putuskan data apa yang ingin Anda bagikan.
- Klik tombol "Selanjutnya".
Satu akun dapat memiliki lebih dari satu ID pelacakan. Anda dapat melacak lebih dari satu situs web dengan akun.
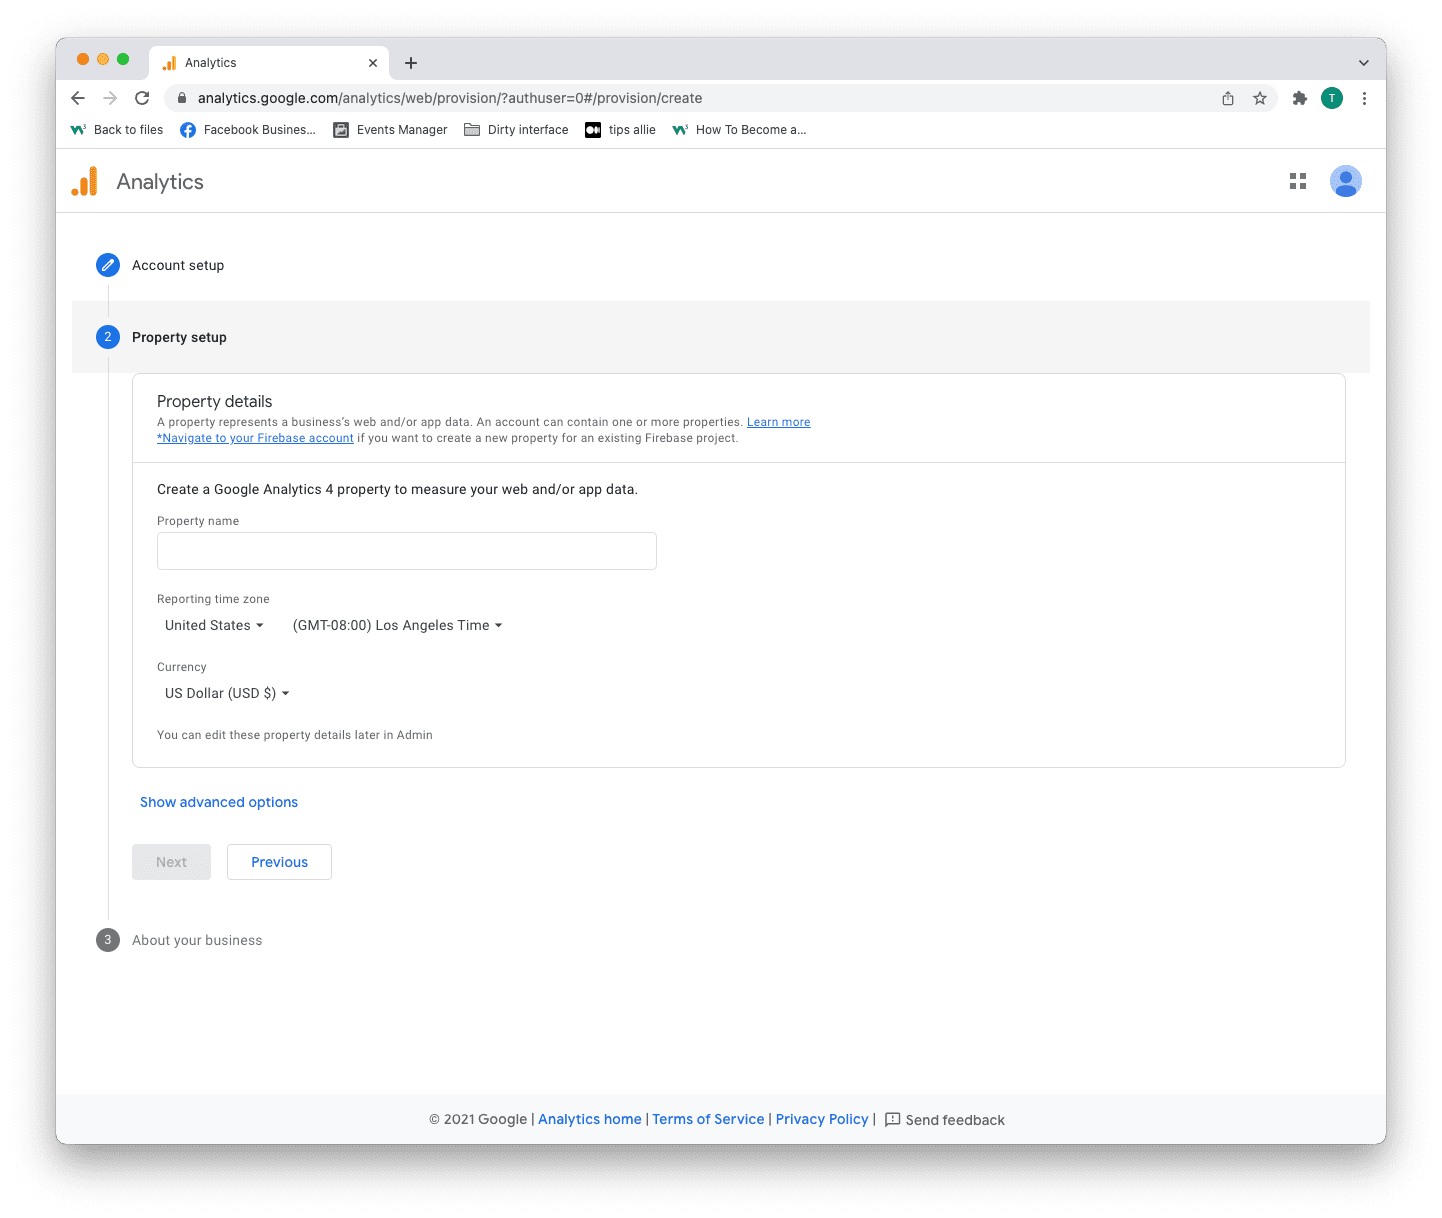
Langkah 4: Penyiapan properti
Properti adalah layanan yang Anda ukur, seperti situs web, aplikasi, pohon tautan, dll.
- Masukkan nama properti.
- Masukkan zona waktu Anda.
- Masukkan mata uang yang Anda gunakan.
- Klik tombol "Selanjutnya".
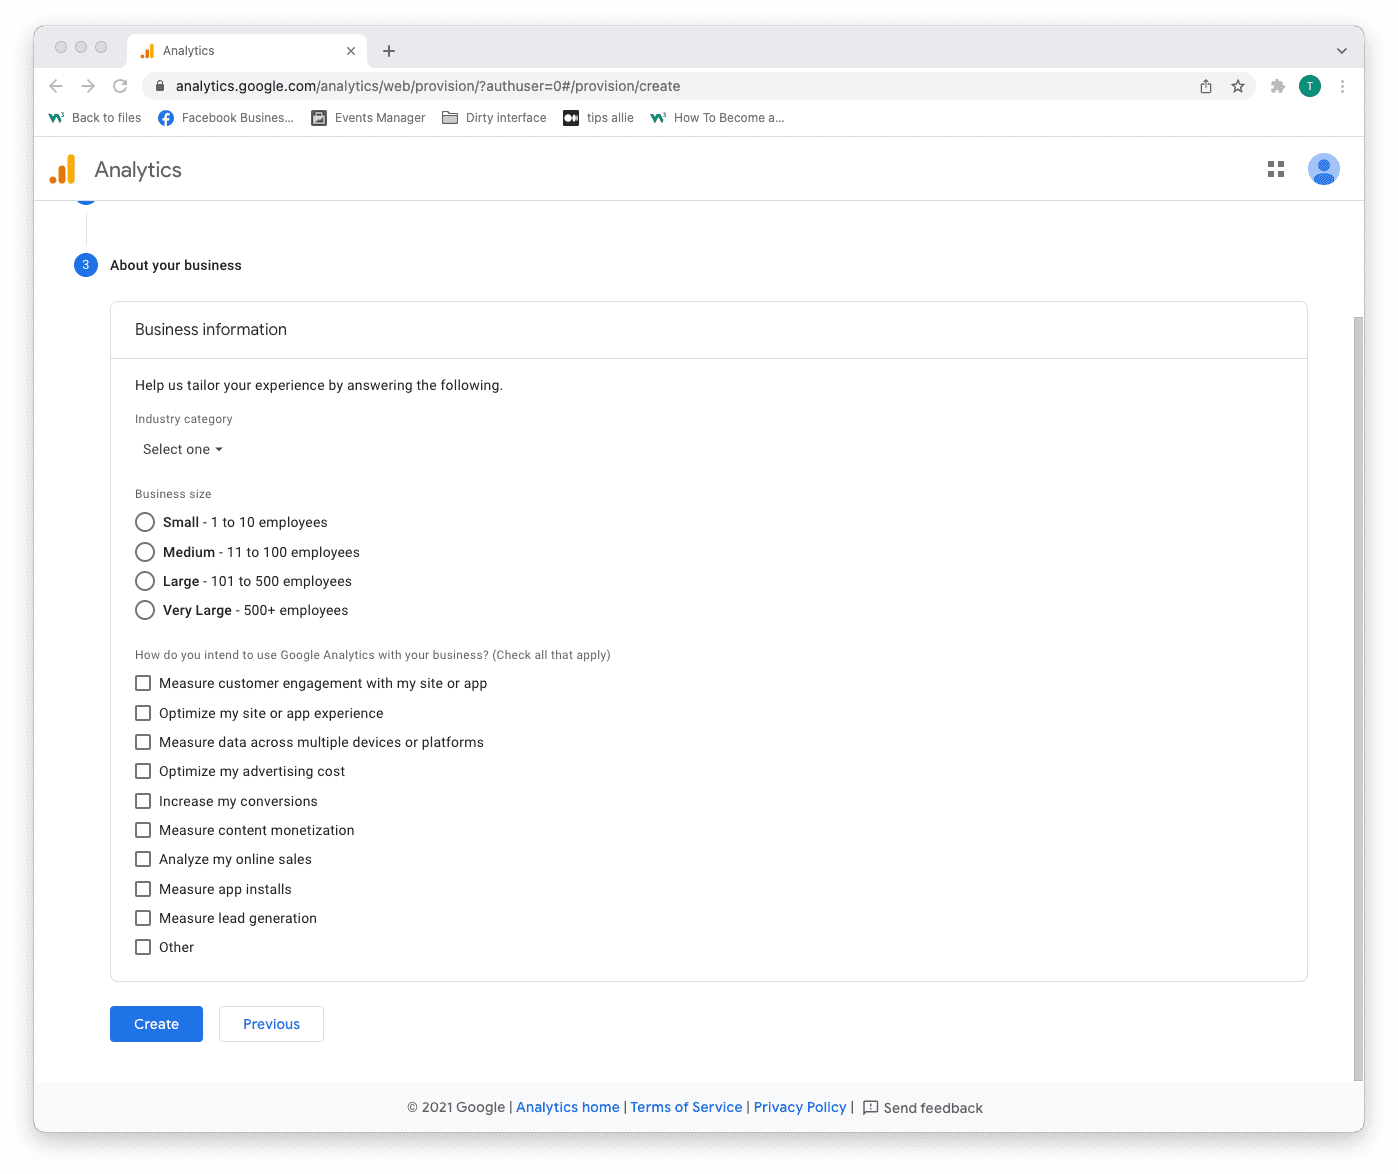
Langkah 5: Tambahkan informasi bisnis
Analytics menggunakan informasi untuk menyesuaikan pengalaman Anda.
- Pilih kategori industri Anda.
- Pilih ukuran bisnis.
- Tick the boxes for how you are planning to use Analytics.
- Click the "Create" button to proceed.
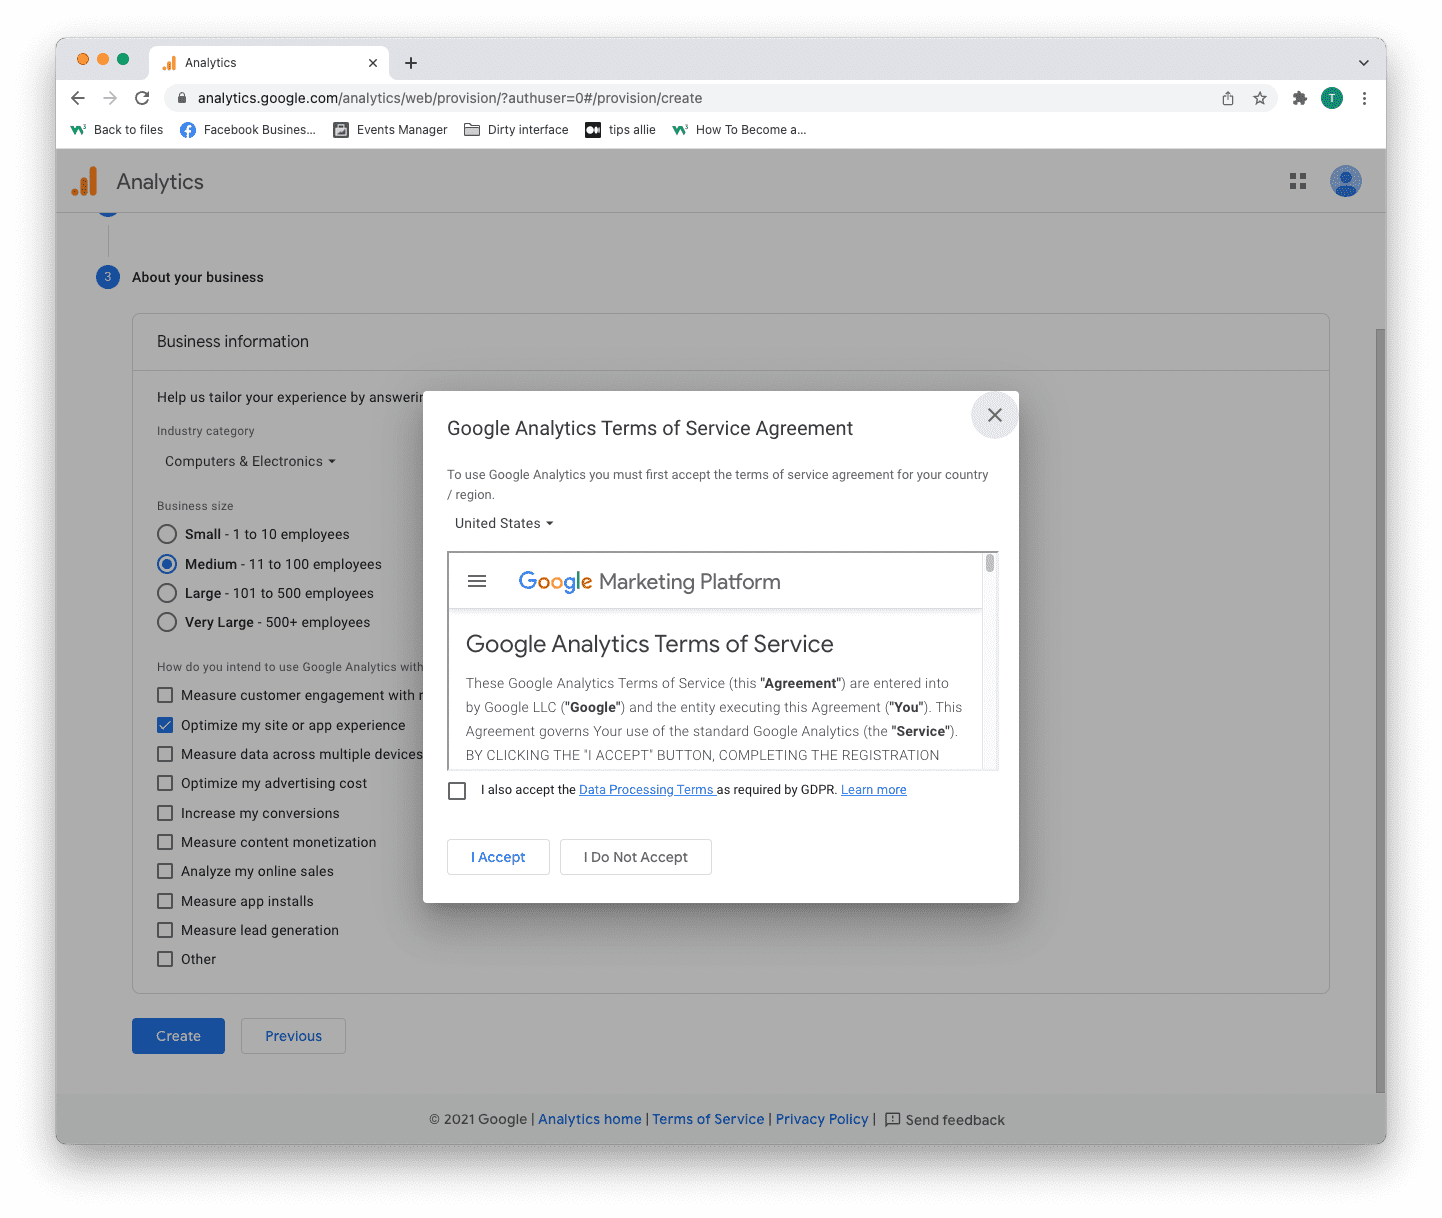
Step 6: Terms of Service Agreement
Read and understand the terms of service.
Tick the GDPR box and click the "I accept" button if you agree.
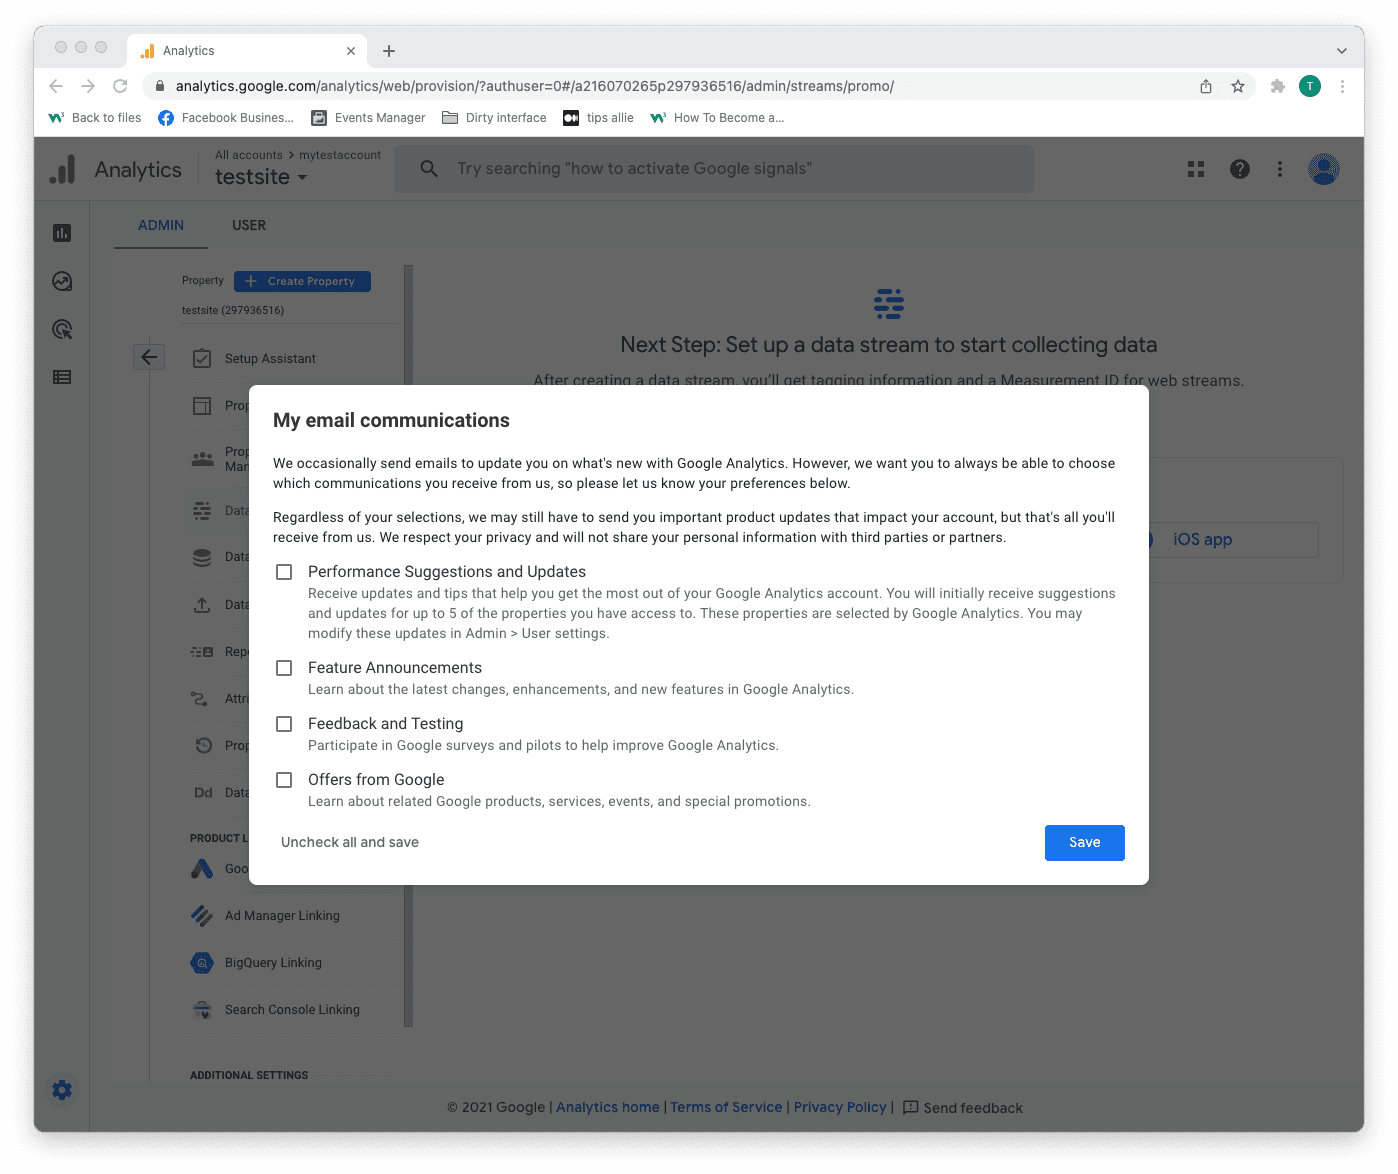
Step 7: Email subscriptions
- Tick or uncheck all boxes.
- Click the "Save" button to continue.
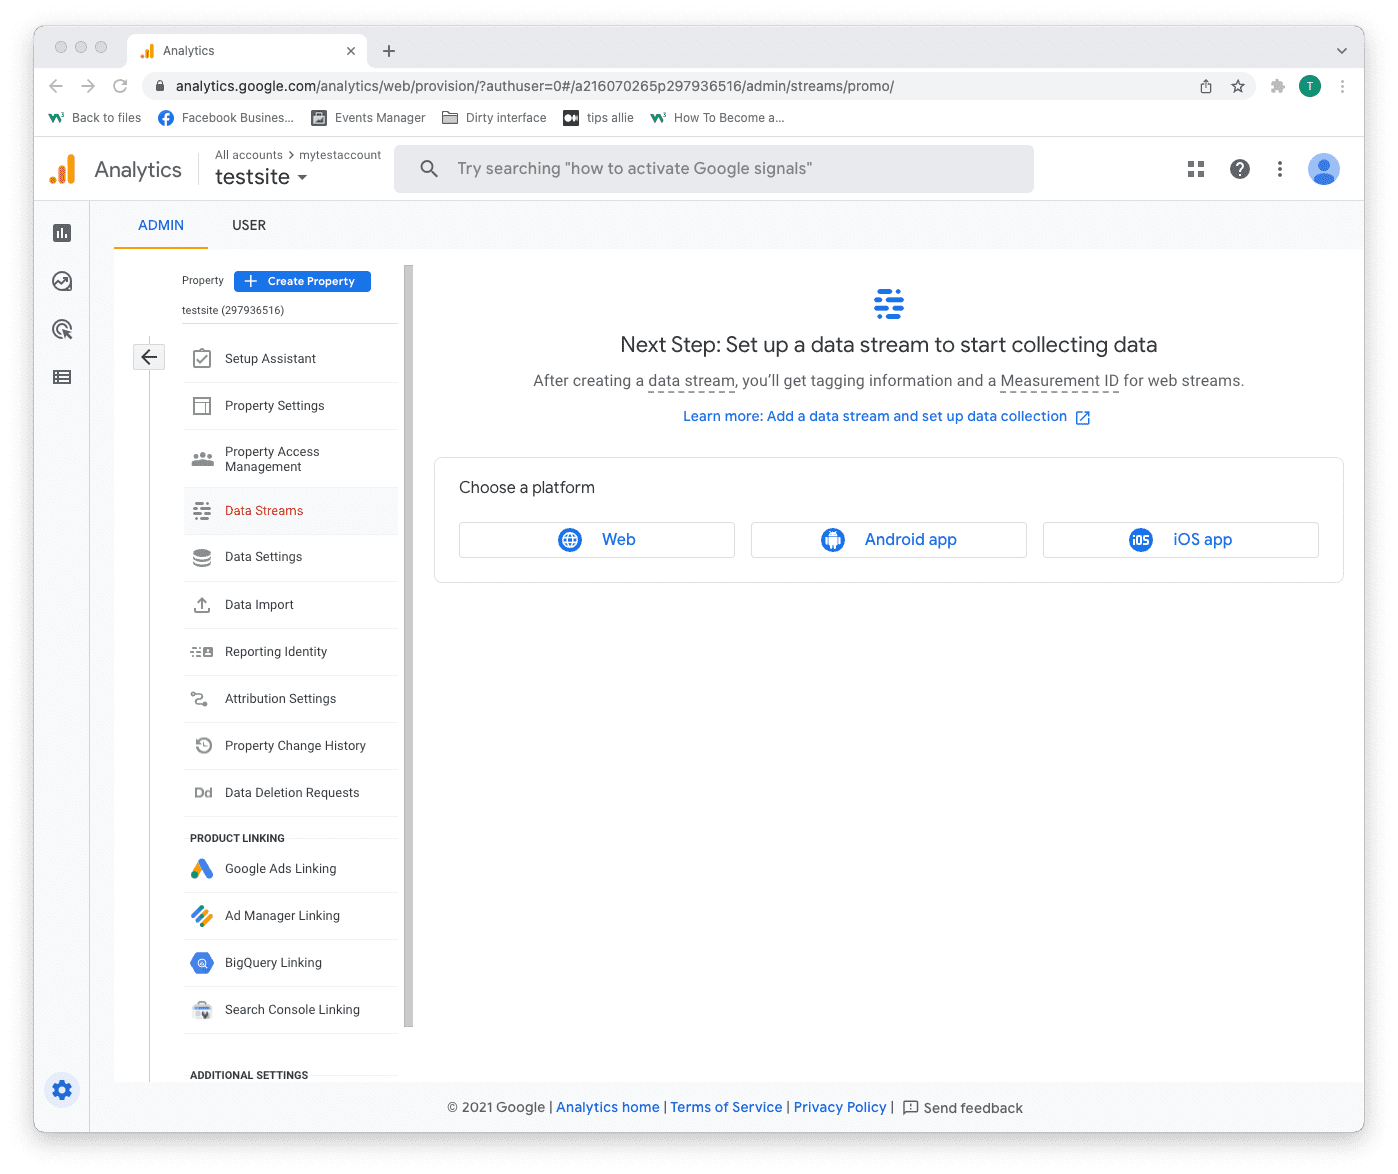
Step 8: Select platform
Chose the platform where you are collecting data.
Then, click the relevant platform to continue.
We are continuing with "Web" as the example in this tutorial.
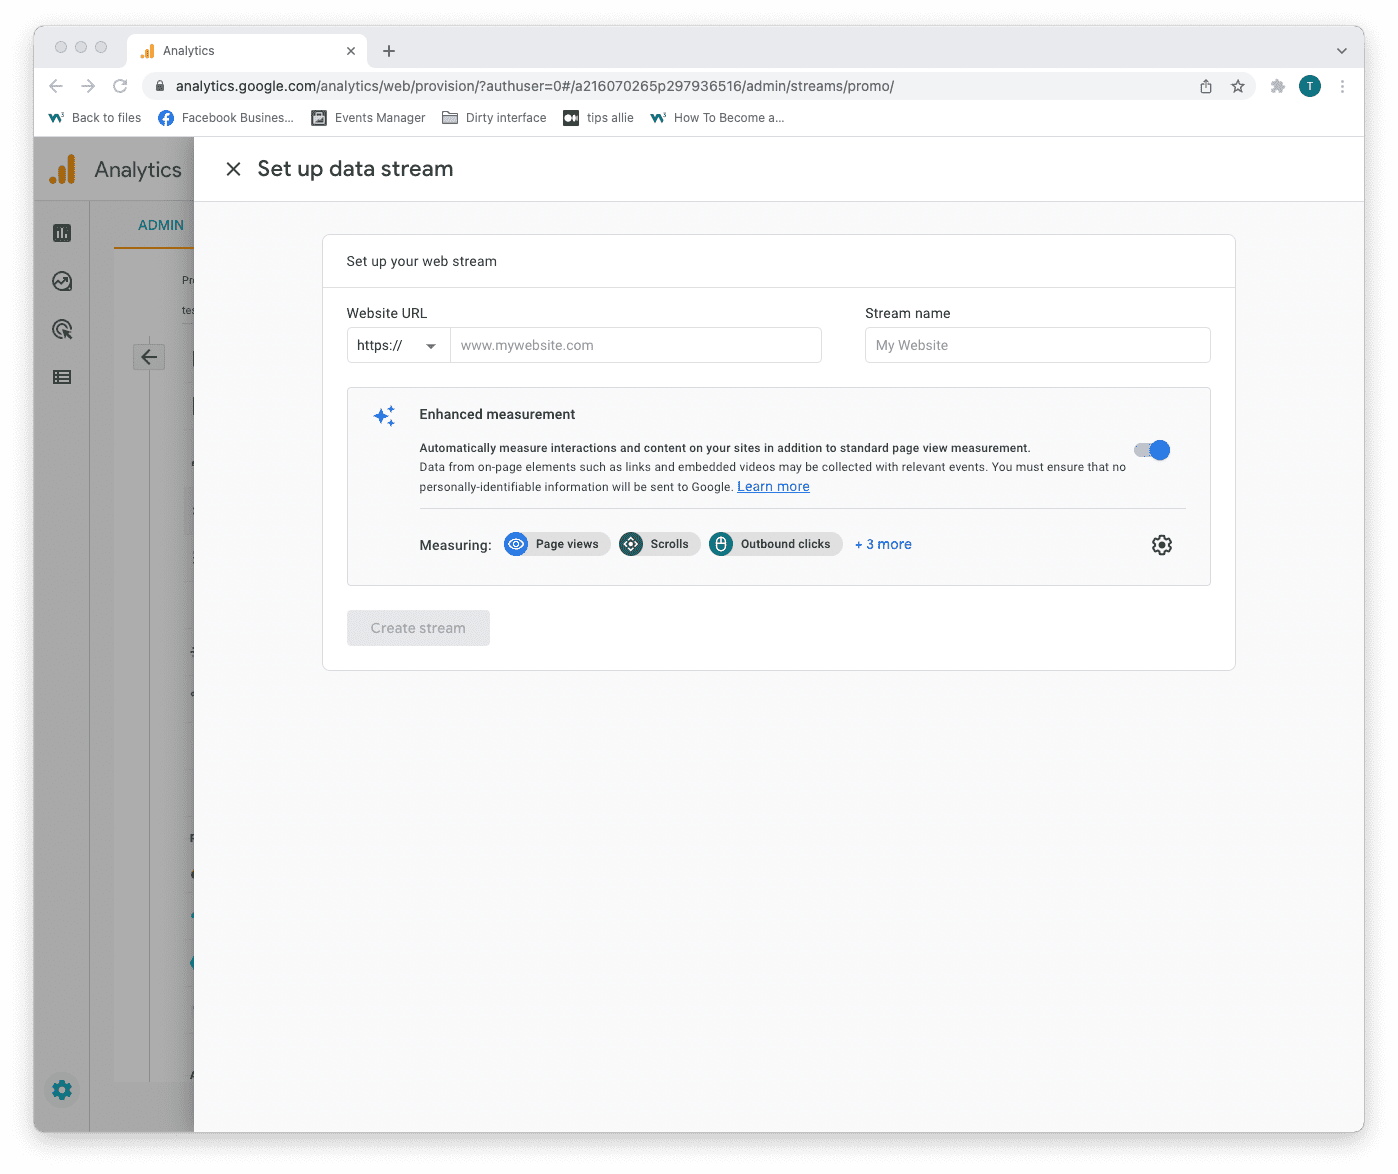
Step 9: Data stream setup
Enter data stream details.
- The URL to your site.
- The name that you want to give the stream.
- Decide if you are to enable enhanced measurement or not.
- Click on the "Create stream" button to continue.
The enhanced measurement can give the data more context. Improving your understanding of the traffic.
Step 10: Web stream overview
Here you can see a detailed overview of the web stream.
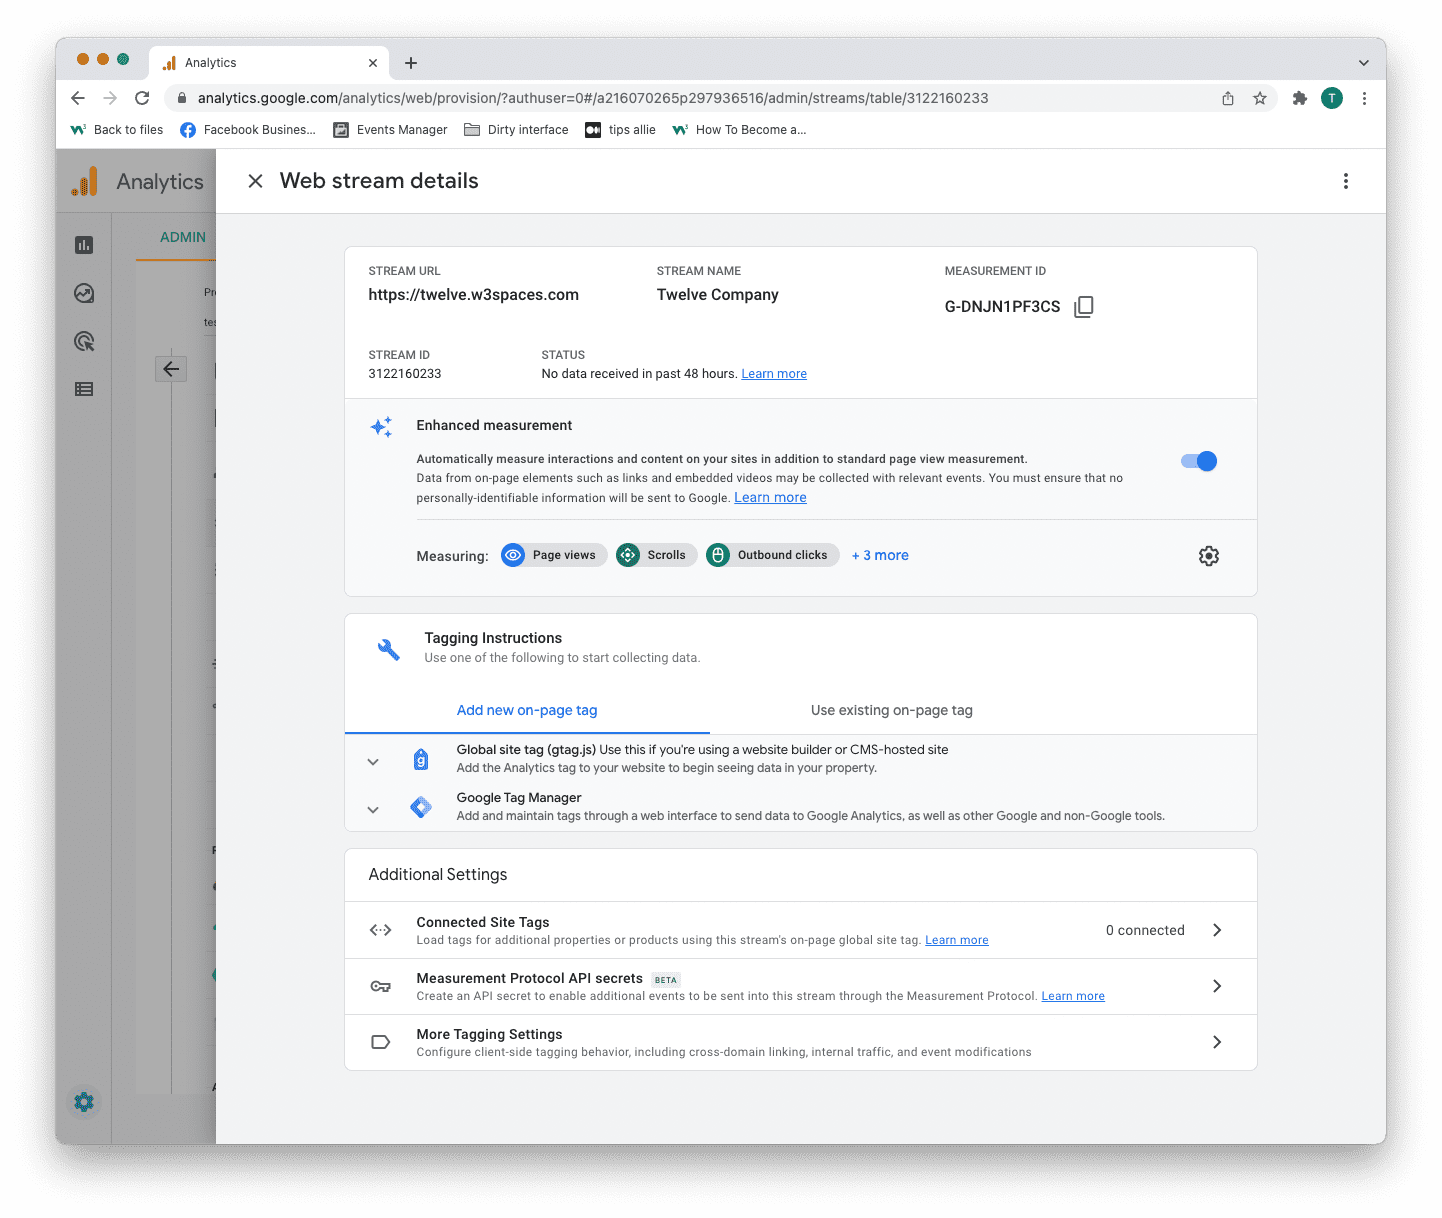
Here are the key takeaways from the overview.
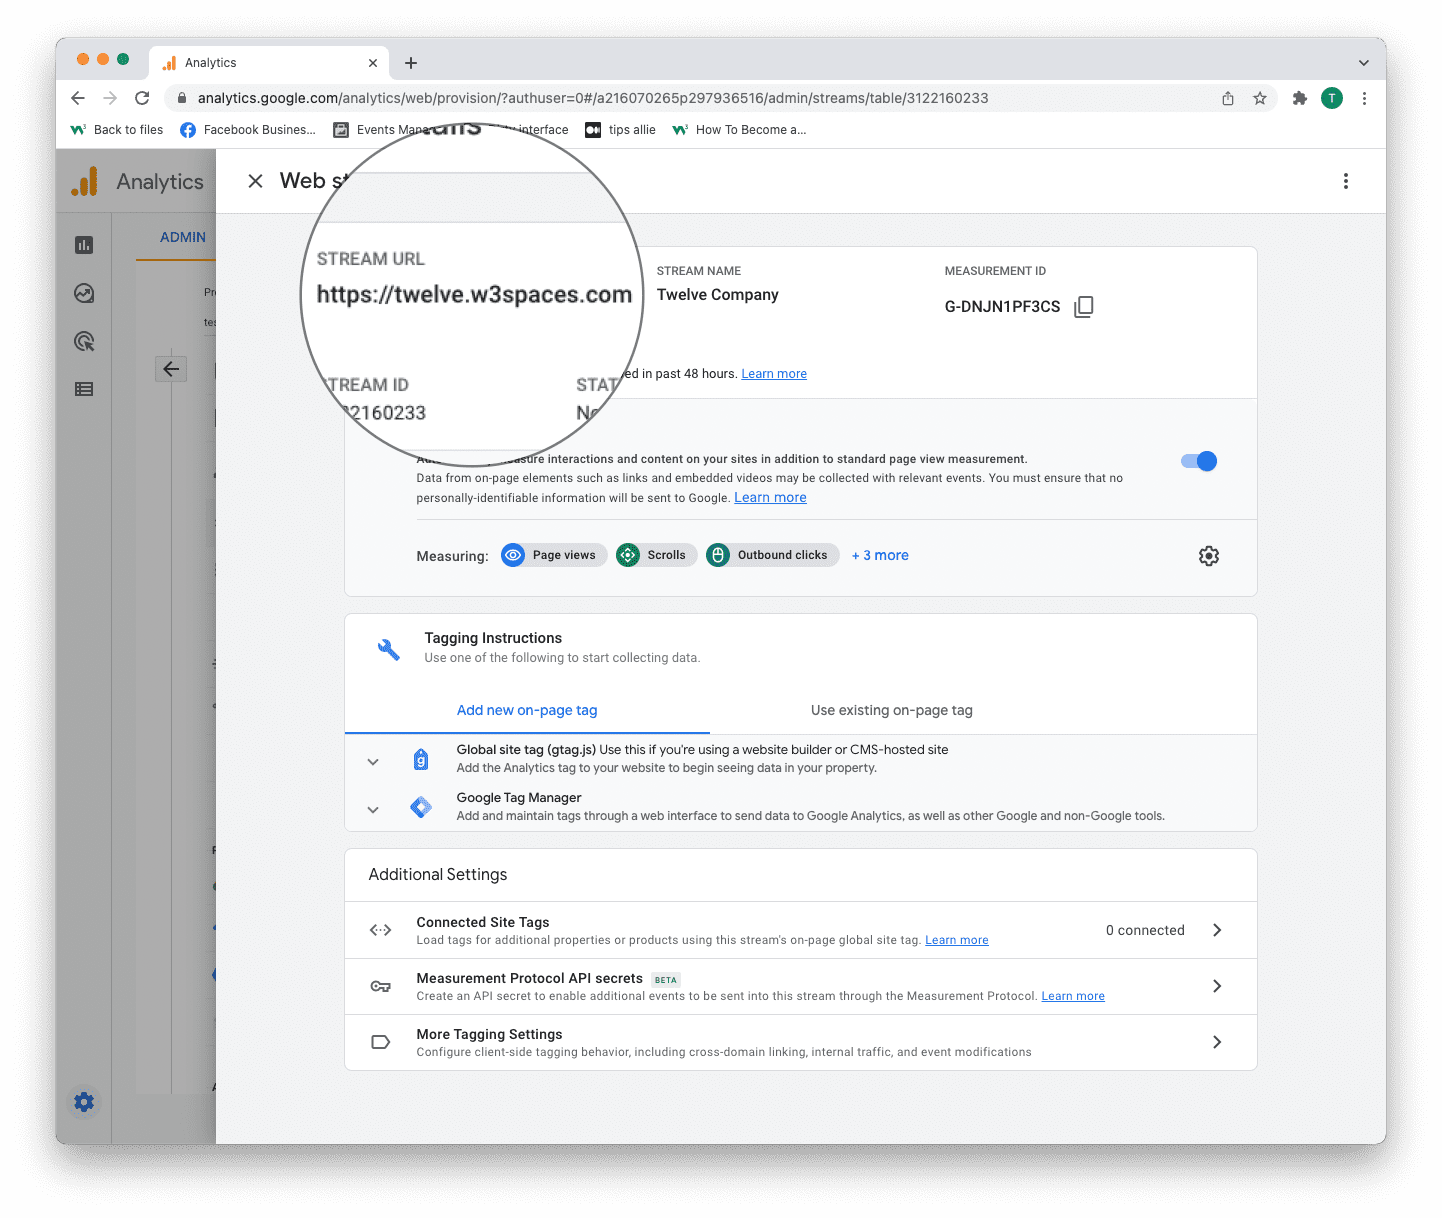
1. Stream URL.
The Stream URL is the link to the connected site.
2. Measurement ID
The Measurement ID is the identifier for your data stream.
It has a format of G-XXXXXXX.
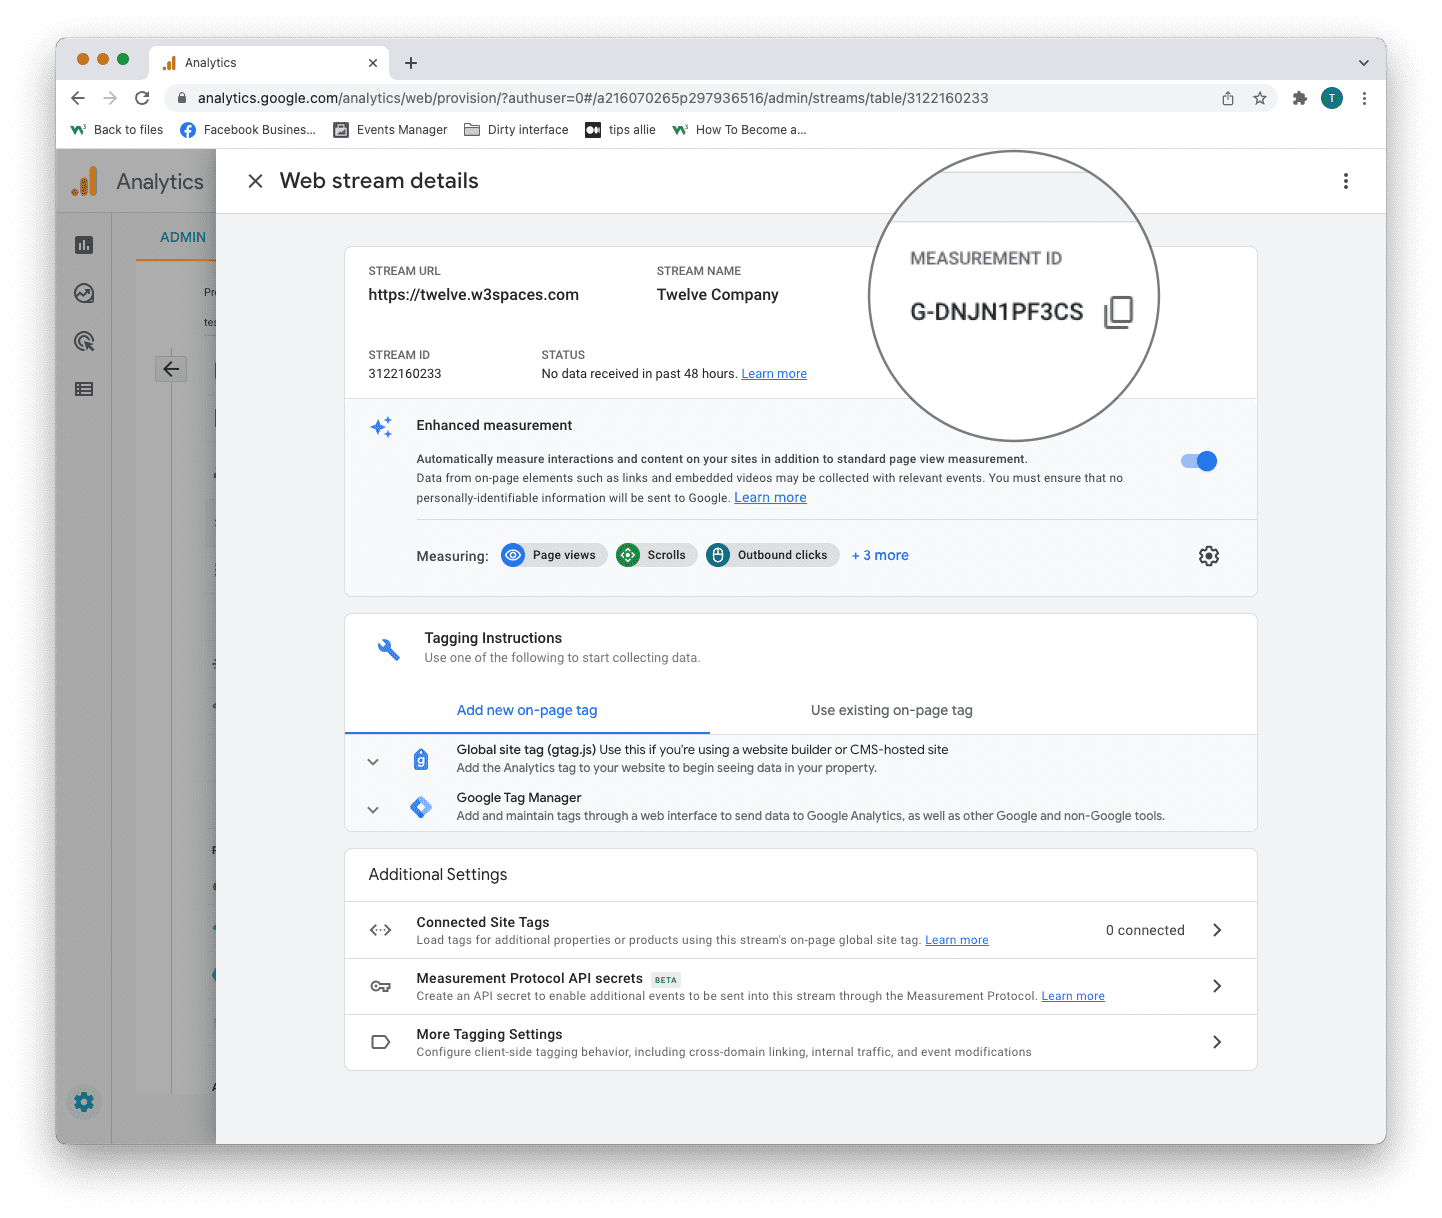
Google Analytics 4 uses Measurement ID. Older versions use Tracking ID. You can not have both.
3. Tagging instructions
Decide to use Global site tag (gtag.js) or Tag manager.
This tutorial will use the Global site tag.
Installing the Global site tag is the easiest and quickest way of getting it up and running.
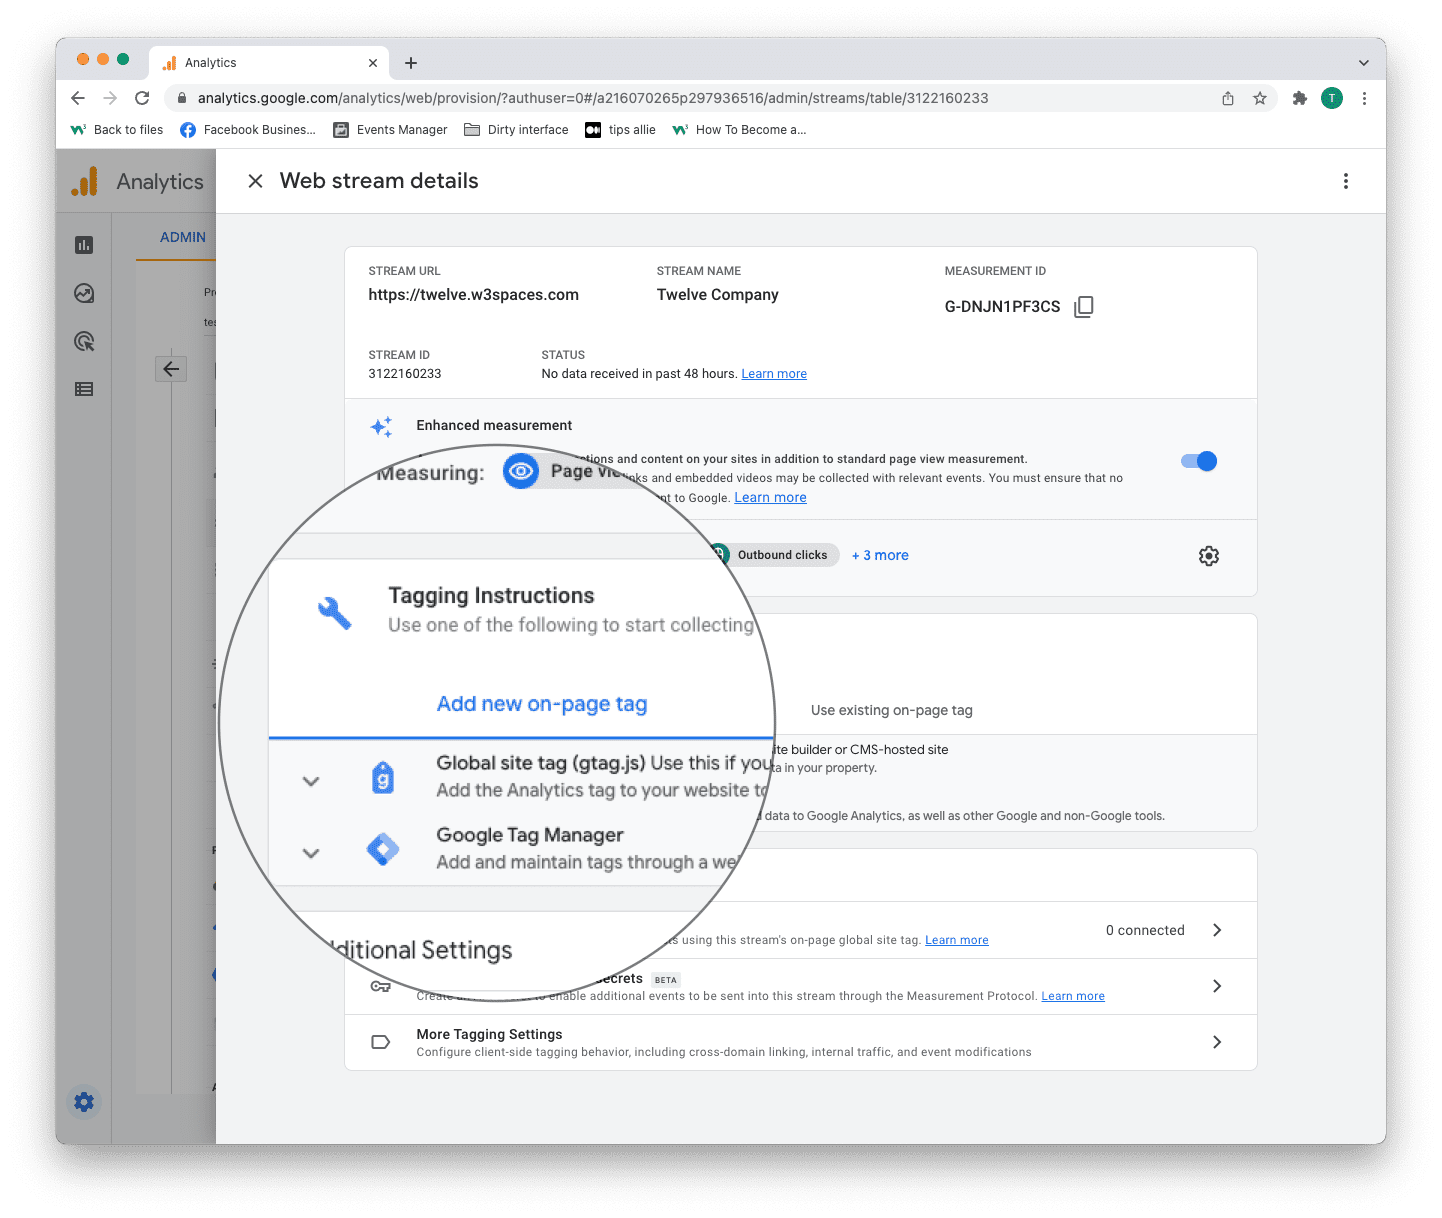
Step 11: Global site tag (gtag.js)
Click the "Global site tag (gtag.js)" row.
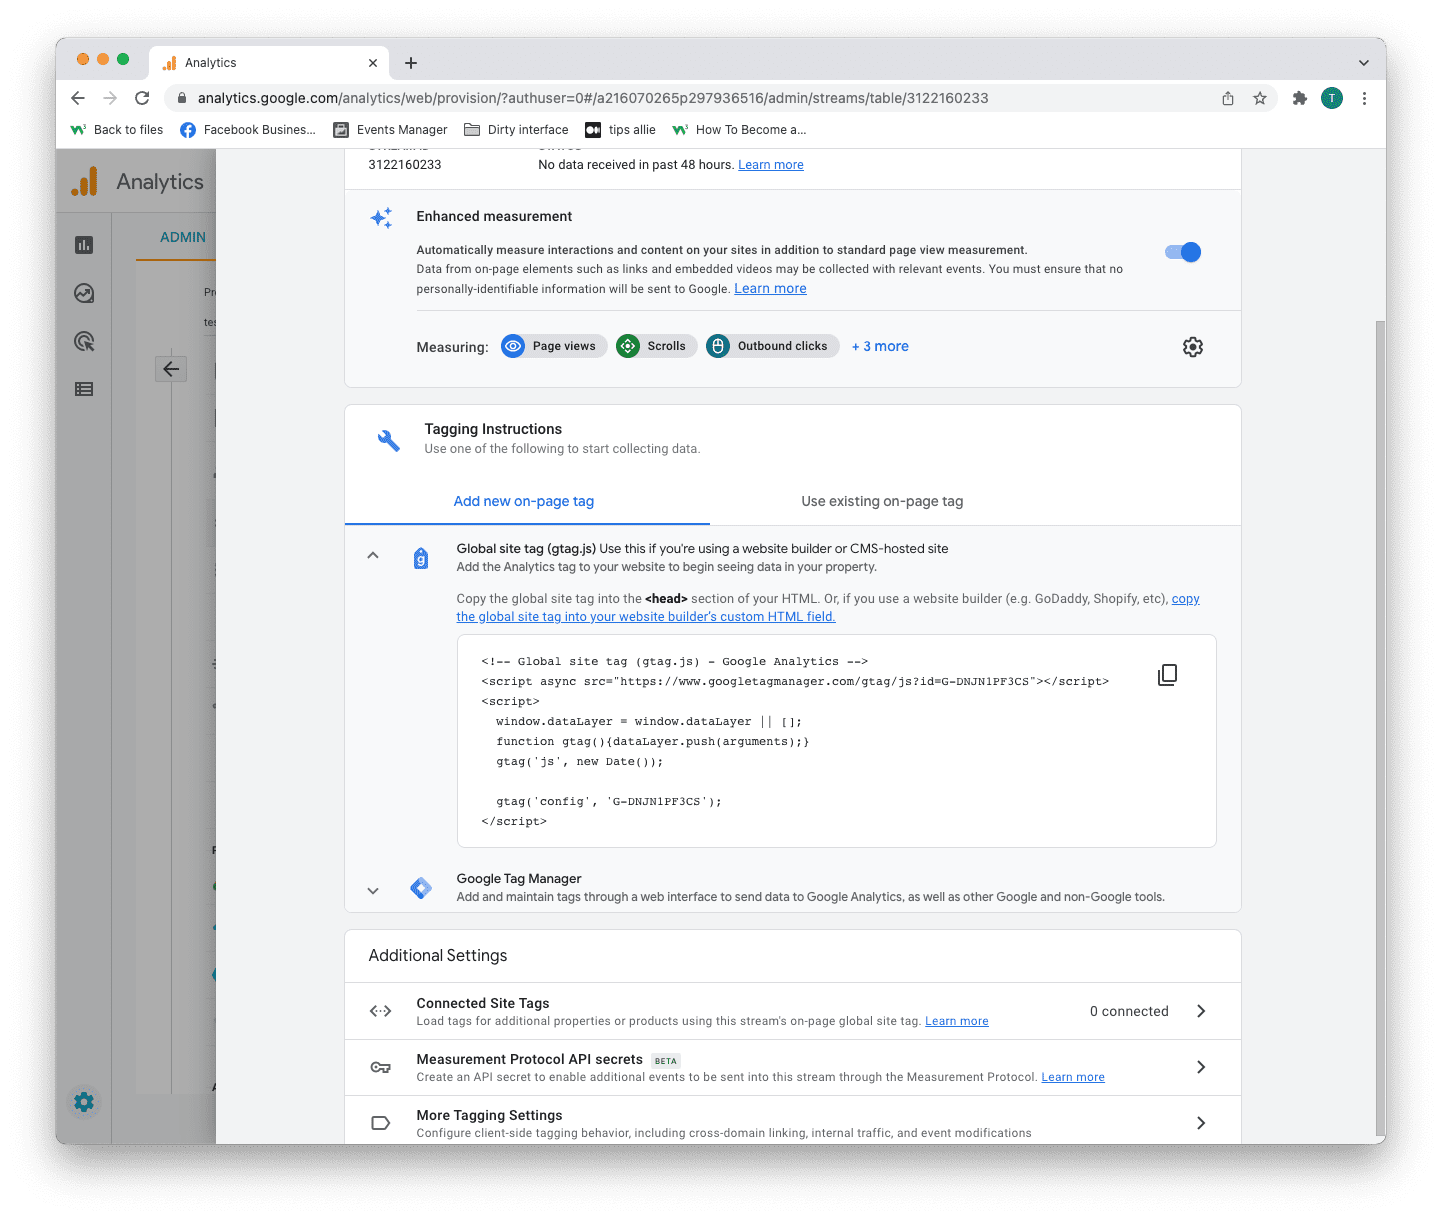
Here you can see a code snippet.
The code snippet is a script to allow Google to measure data on your site.
You can see the Measurement ID in the second last line in the code snippet.
The code snippet
<!-- Global site tag (gtag.js) - Google Analytics -->
<script async src="https://www.googletagmanager.com/gtag/js?id=G-DNJN1PF3CS"></script>
<script>
window.dataLayer = window.dataLayer || [];
function gtag(){dataLayer.push(arguments);}
gtag('js', new Date());
gtag('config', 'G-XXXXXXX');
</script>
Step 12: Enter the code snippet
Copy the code snippet.
Make sure to include your Measurement ID.
Locate the <head> tag in your HTML.
Paste the code snippet just below the <head> tag.
Save and publish the code.
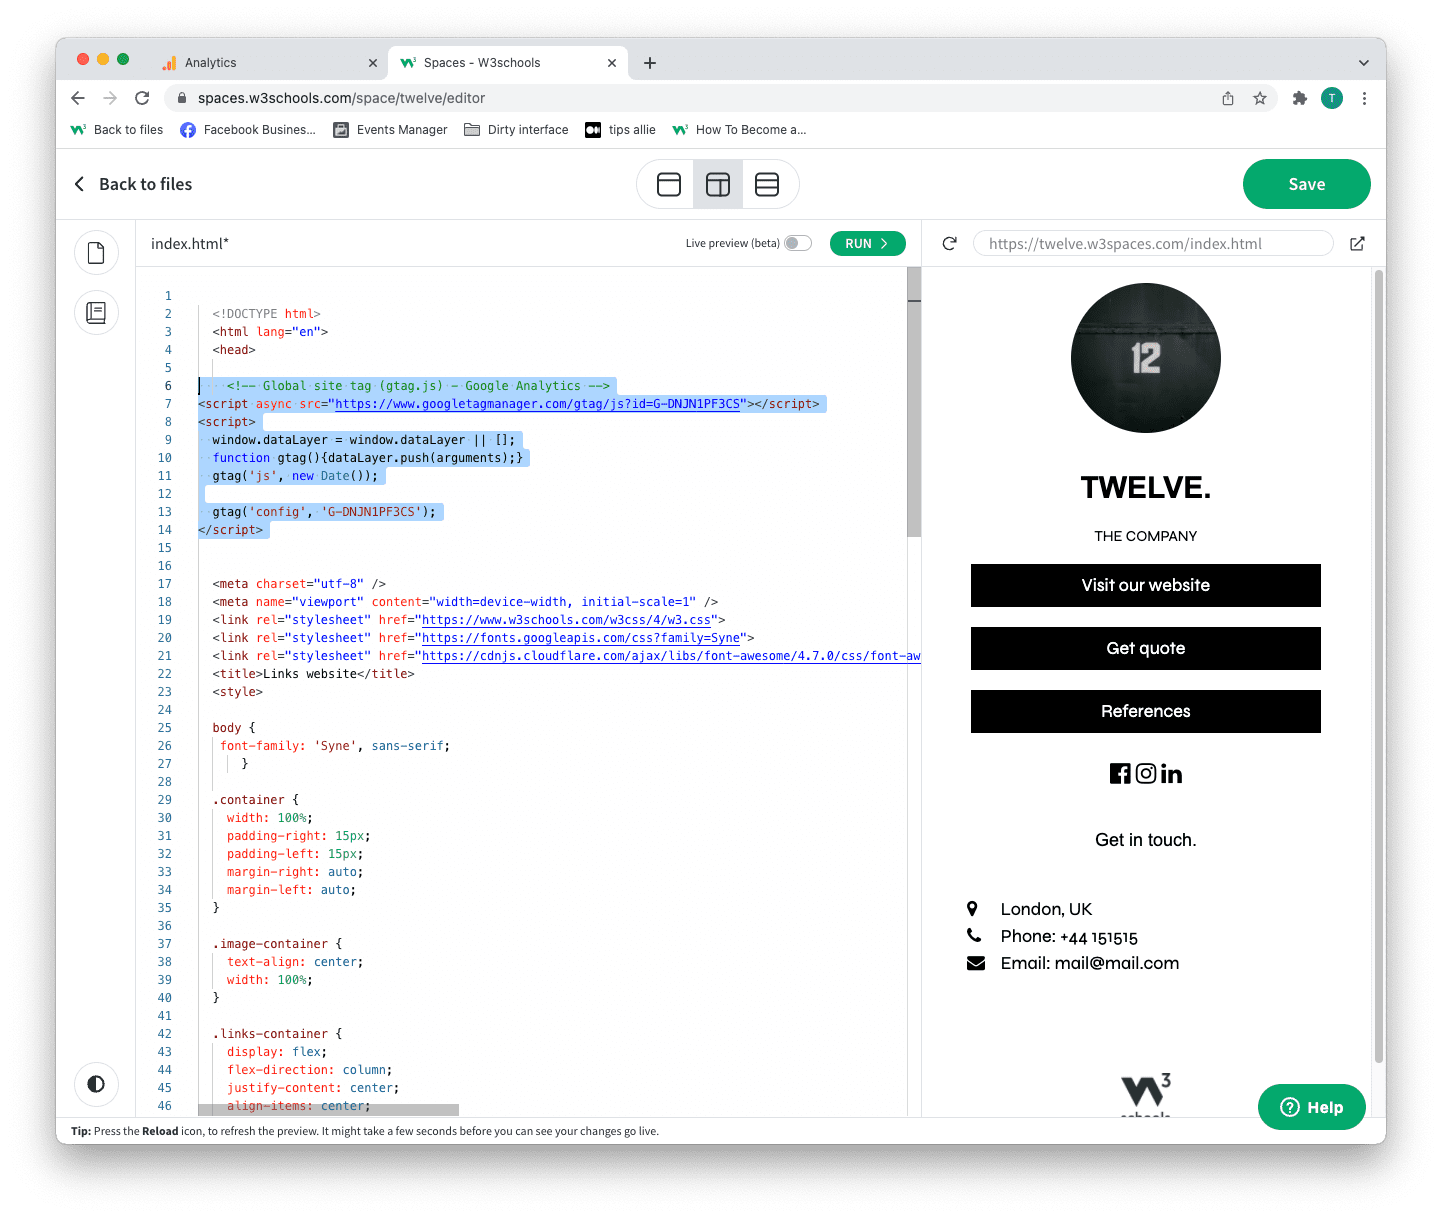
We used W3Schools Spaces in this example.
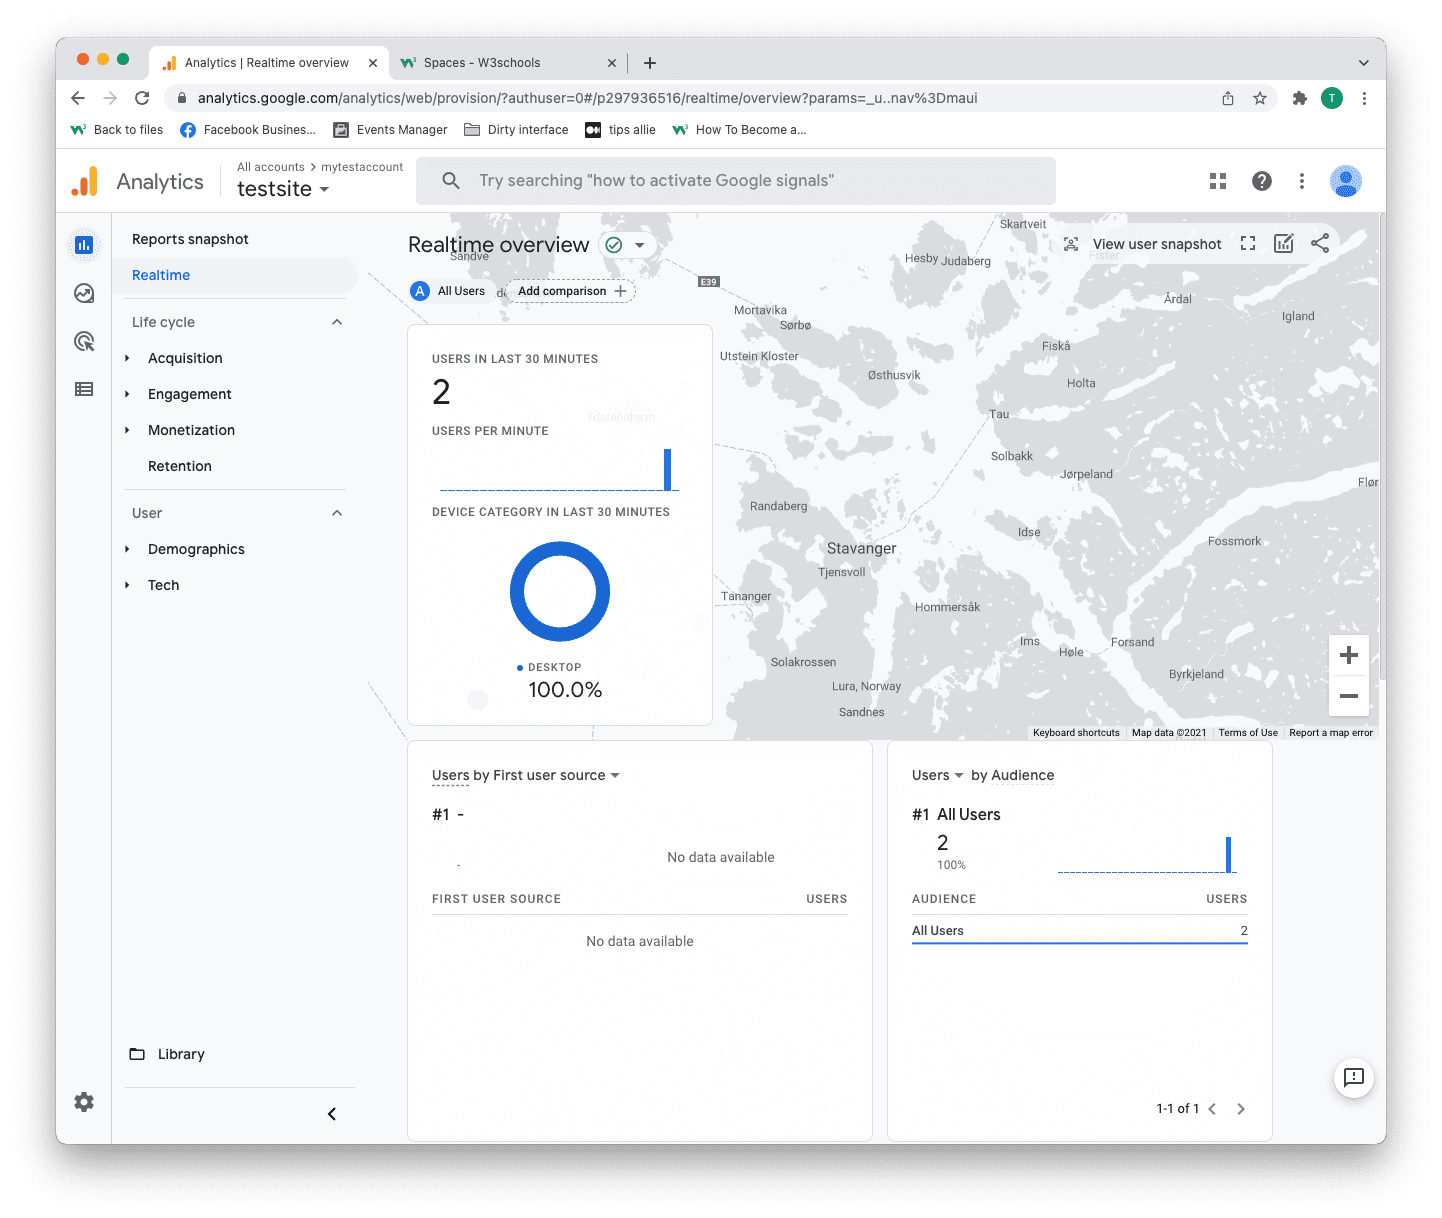
Step 13: Test that it works
Ensure that you have successfully saved and published the code snippet with the correct Measurement ID.
Open the URL for the site you have connected to the data stream.
Click on "Real time" on the menu to the left.
Confirm that you see yourself as an active user.
Congrats. You have successfully enabled Google Analytics for your site!
Explore Google Analytics
Recommended related topics are Tag manager and Events
Spend time in the service to learn about your user activity, commerce, demographics, device, and referrals.
Tip: Ever heard of W3Schools Spaces? It is a personal space where you can make a website from scratch or use a template and host it for free.
It has everything you need in the browser.
Get started in a few clicks.
Start now for free ❯* no credit card required